As the world is progressing, technology is also catching up. Every day, there is something new that technology has to offer. For the ‘gadget freaks’ a new variety of smartphones are being made available. Every smartphone is a notch higher than the previous one and telecom companies are vying to capture the market and the top spot with their product.
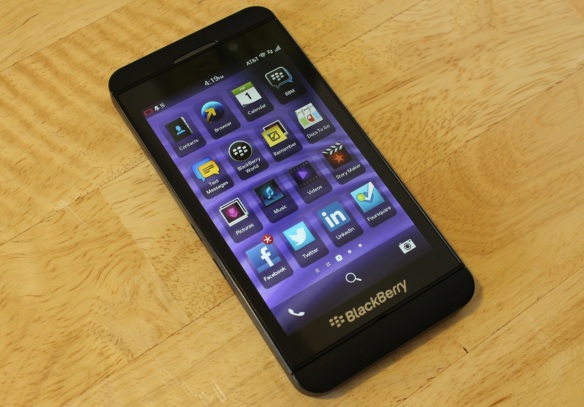
Among the breed of new, state-of-the-art smartphones that have currently hit the market, the BlackBerry Z 10 is one of the most talked about phones. The blackBerry series of phones is known as the best business phones. Usually, the people in the corporate world opt for the phone and it is one of the best phones in the world of telecommunication.
Now, we all know how important sending and receiving emails is, in the corporate world. Deals are finalized, reports are sent, and so much more is done just via emails. Therefore, it is very important to setup an SMTP server on your smartphone. An SMTP service provider will help you use fabulous SMTP services so make your mailing experience better. Now if you want to setup SMTP on your new BlackBerry Z 10, you first have to add an email account to your BlackBerry phone. Now, the information required may differ from one email service provider to another. So, first, you have to contact your service provider and take all the information required.
- On the phone home screen, swipe downward from the tool bar on top of the screen.
- First tap on settings and then tap on Accounts.
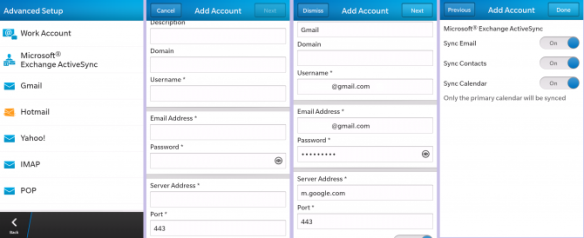
- Then go to ‘Add Account’ and tap it after which you have to tap on ‘Advanced’
- Then you need to tap on the type of mail account you want to add. For instance, tap on ‘Work Account’ if you want an email account that the BlackBerry Enterprise 5 Service supports.
- Then add the information required for the account.
To set up Outgoing mail services you will need to fill in the following information.
- Username for SMTP – Customer’s username (this is optional)
- Password for SMTP – Customer’s password (this is optional)
- Address of SMTP Server – Outgoing mail server
- SMTP port – Outgoing server port
- SMTP Encryption – Off/ SSL/ Start TLS
- Sync interval – Preference of customer
- Initial retrieval amount – Preference of customer
Then all you need to do is tap on done. The SMTP server will help you send mail but you do need to install IMAP or POP3 to receive mails.


